
Add-in tested with Mautic 2.15.3 and Outlook 2019 for Windows.
Have you ever wanted to track one-to-one sales emails that you send using Outlook with Mautic? If you already use Mautic to coordinate your sales/marketing efforts, you could be losing a lot of insight into your prospects’ buying behavior by not tracking custom email opens. This is particularly handy for small businesses who are using Mautic as a CRM by logging calls and meetings using the “Notes” feature in the contact view.
Emails sent manually from Outlook can now be tracked as part of a contact’s timeline, much like any other Mautic email, such as campaign or segment emails. This is similar to the functionality of email tracking tools such as YesWare or HubSpot Sales (formerly Sidekick) – fully integrated into Mautic. The Mautic Outlook add-in is compatible with Outlook 2019 for Windows, including the Office 365 edition. Setting up is simple, and all you need is a Mautic account on your instance.
This open source plugin was developed by Werner García and compiled by Webmecanik. To get your own Mautic instance, or reach us for plugin and integration support, contact our Mautic consultants using our contact form.
Mautic Outlook Add-In Configuration Instructions
1 – Download and install the Mautic Outlook Add-in.
We have mirrored the .zip file for the installer because it’s no longer available officially on the Mautic community website. Download it here. Unzip the files on your Windows desktop, browse to the bin folder, and run the installer mautic.outlook.plugin.exe.
2 – Configure the Outlook Integration Plugin in the Mautic Dashboard.
Login to the Mautic dashboard, and navigate to Configuration > Plugins. Click Outlook to pop-up the modal window to configure the plugin. Set the plugin to Published = Yes and set the Outlook Add-in Secret, which should be a random string of alphanumeric characters (8 – 24 characters). Then, click Save & Close.

3 – Configure the Mautic Outlook Add-In in Outlook (on the desktop).
Launch the Outlook email client on your Windows desktop. When prompted the “publisher cannot be verified”, choose Install to confirm installing the Mautic Outlook Add-in.
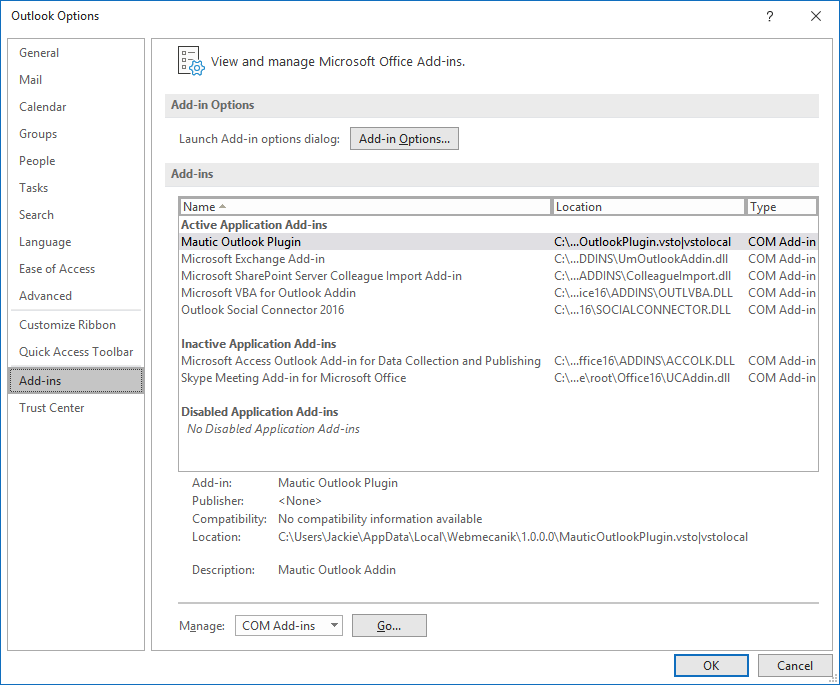
Then, navigate to File > Settings from above the ribbon. The Outlook Options window will pop up. Select Add-ins from the sidebar, then highlight Mautic Outlook Plugin from the add-ins list, and click the Add-in Options button.
A dialog will popup allowing you to configure the Mautic URL and Secret.
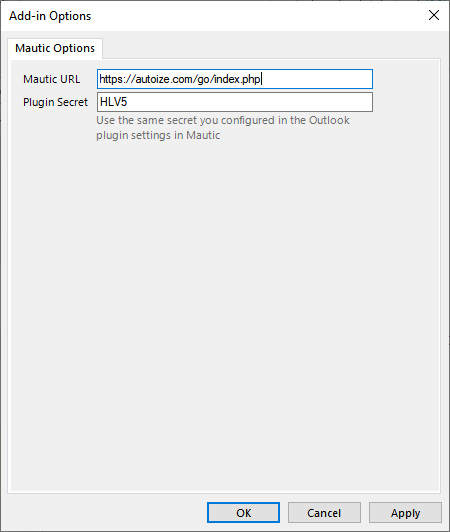
Note: The Mautic URL should be the base URL of your Mautic instance, followed by /index.php with no trailing slash. If your Mautic instance is installed in a subdirectory as opposed to a subdomain, you should specify the path including the folder name followed by /index.php. The Mautic URL when configuring the Outlook plugin in the dashboard is not necessarily correct.
The Plugin Secret is the alphanumeric string set previously when enabling the plugin.
If the Mautic URL or Plugin Secret is not configured properly the tracking will not work. Click OK to save your changes and close the dialog box.
4 – Test the add-in by sending a tracked email in Outlook.
Compose a new message to yourself in Outlook and select the Track Email option from the ribbon the New Message window. Then, send the email message.

Ensure you are signed out of the Mautic dashboard in the browser window where you open the tracked email. Mautic events (e.g. email opens) are not tracked when a user is signed into the Mautic dashboard in the same window. If in doubt, use an Incognito or Private Browsing window to open the email.
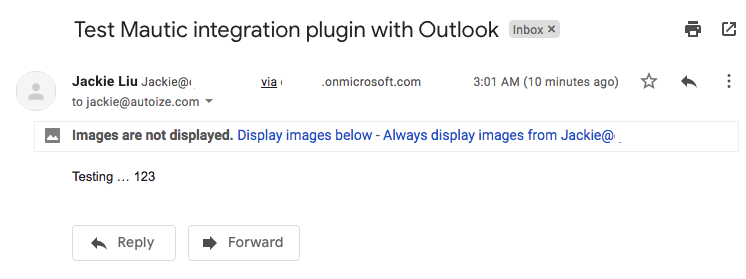
The Mautic Outlook plugin distinguishes which recipient opened an email based on a tracking pixel at the footer with a unique token (representing the contact ID). As the recipient, click Display images in your email client to allow the tracking pixel to be loaded.
If the Mautic Outlook tracking was properly configured, you should now see activity in the Mautic dashboard reflected for the contact who received (and opened) the email. The Last Active time for the contact will also be updated.
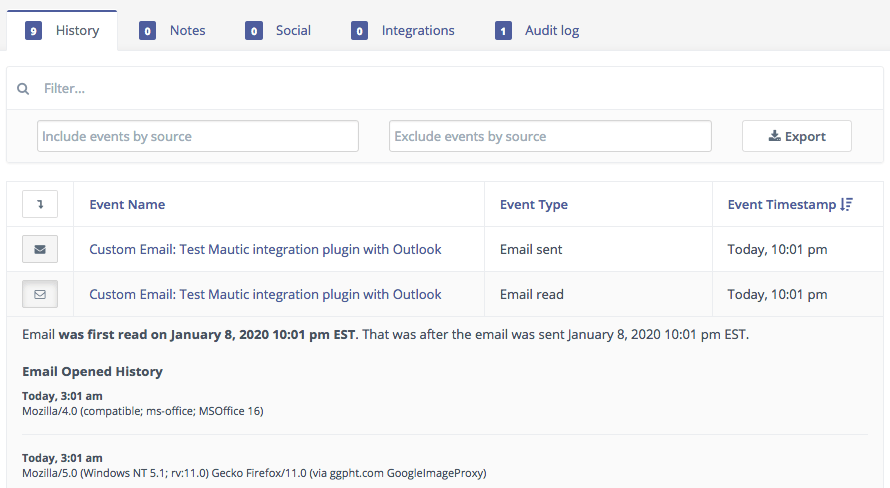
The contact timeline should look something like this, with the Email Sent and Email Read events. Select the Email Read event (by clicking on the envelope icon) to expand it to see when, and with which email clients, the contact opened your email.