
Marketing Automation Hosting Tutorial
How to Install Mautic
What is Mautic?
 Mautic is an open-source marketing automation software that is completely free to install on your own server. There are no up-front, monthly or annual licensing fees. If you’re looking for a single place to coordinate all your inbound marketing activities, you should seriously take a look at Mautic. By bringing data about how your contacts respond to your email, web and content marketing campaigns together, Mautic helps you market smarter, delivering the right message at the right time.
To learn more about the Mautic marketing automation platform, visit our page on Mautic marketing automation.
System Requirements for Mautic
- PHP (Magic Quotes GPC off) 5.6.19 + (including 7.0x)
- MySQL (InnoDB support required) 5.5.3 +
- Apache 2.x +, Nginx 1.0 + (1.8 recommended) or Microsoft IIS 7
Installing Mautic on your own server?
If you are installing Mautic on your own server, such as a VPS or dedicated server, take a look at our Ultimate Mautic Installation Guide. Hosting Mautic on a cloud virtual server can provide better performance than a shared web host for a comparable price. However you need to be knowledgeable in Linux to secure and update the server regularly. Our Mautic installation services team can provide the initial setup and ongoing maintenance for an affordable cost.
If you simply want to use cPanel to install Mautic, carry on with this guide.
Quick Start – Installing Mautic with a One-Click Installer
We no longer recommend installing the latest version of Mautic on shared hosting. Most shared hosting providers have cron execution intervals and PHP memory limits that are too low for Mautic to reliably trigger campaign actions, or update without data corruption. This page will be updated soon with the latest recommendations.
In your web host’s control panel, you might have a one-click installer that helps you easily install apps on your hosting account. With a one-click app installer, you don’t need to download the software you want to install from the maintainer’s website, upload it via FTP and configure your own database credentials. All you need to do is pick the software from an app store-like catalog and complete the wizard to get setup. If you’ve done a one click install for WordPress before, you have probably used one of these tools.
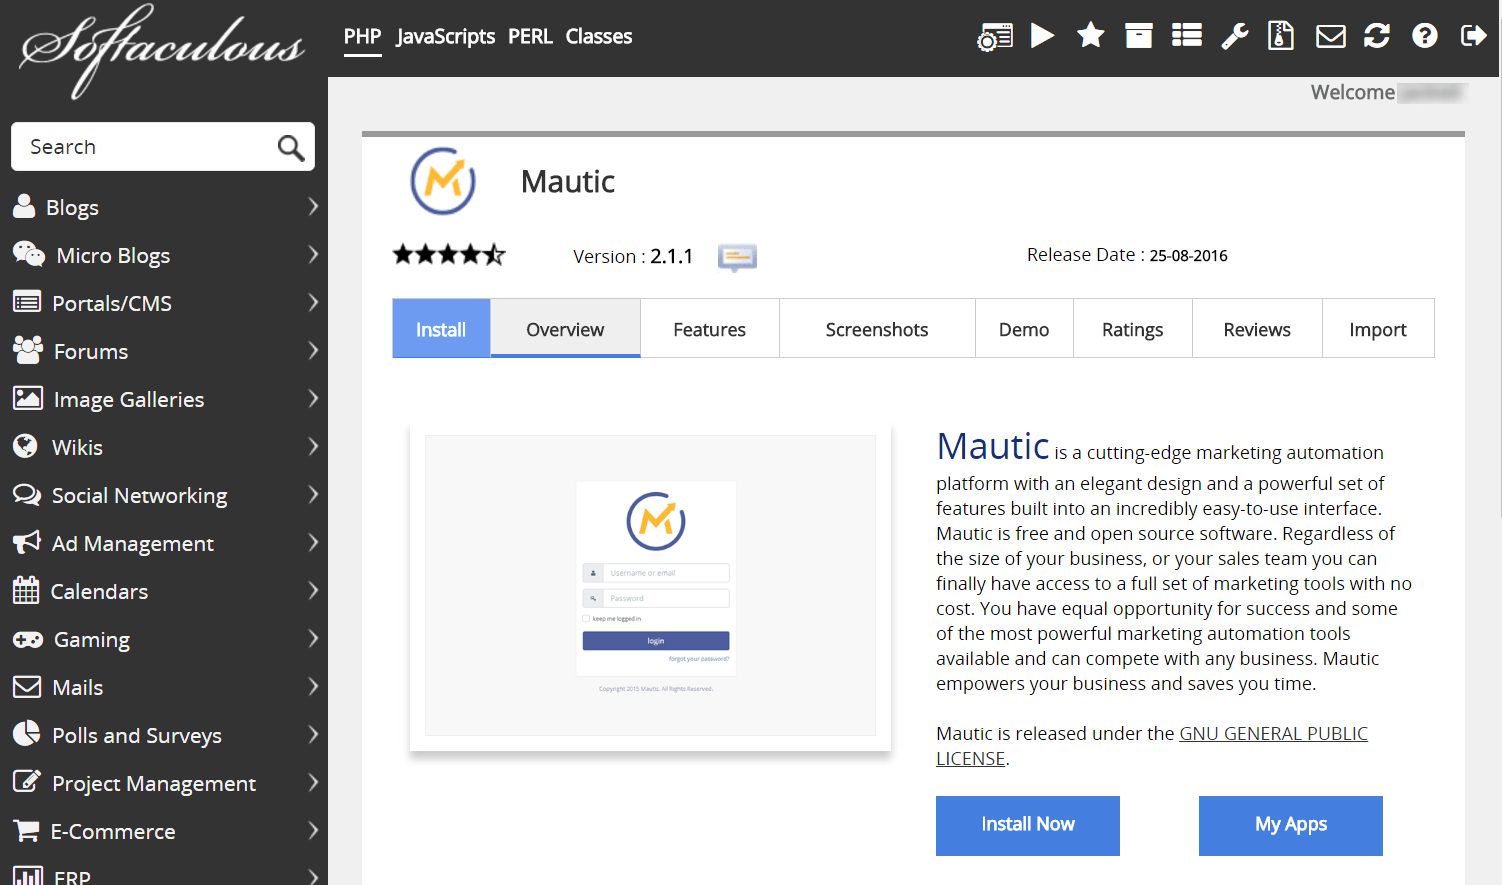
The latest versions of Softaculous and Fantastico support installing Mautic, so if you have access to either in your cPanel, you are lucky. In our example, we will show how to install Mautic using Softaculous. Just be aware that Mautic has a bespoke requirement that usually needs some configuration before proceeding with the install.
Most scripts are not picky about the PHP version, but Mautic requires PHP 5.6 or greater. This is the #1 most common error message that users encounter when installing Mautic, but there’s an easy fix. The vast majority of web hosts keep multiple versions of PHP on their servers, but default to an older version such as PHP 5.3 or 5.4.
Update Your PHP Version to 5.6 or Greater
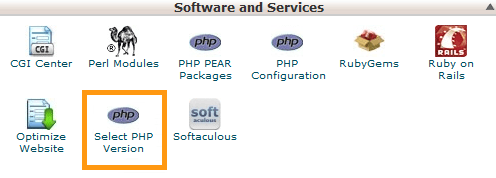
To change your PHP version, you should navigate to Software/Services and select “PHP Configuration” from within cPanel.
From the dropdown menu, select PHP 5.6. Some hosts apply this as an account level change, which affects every site hosted inside the account, including add-on domains. Other hosts allow you to set the PHP version on a per-domain basis. Especially if it’s an account level change, you most likely want to stick with PHP 5.6, not PHP 7. Not all scripts are compatible with PHP 7 yet.

Install Mautic Using Softaculous
Then head on over to Softaculous and select Mautic from the list.

Fill in a couple of form fields, hit “Install” and you’re off to the races. Of note, the In Directory setting is especially important. If you want to access the Mautic dashboard from yourdomain.com/mautic, you should enter “mautic” in the text box.
Helpful Hint: We actually don’t recommend naming the directory as “mautic” because it will show up to your visitors as part of the URL for landing pages. In that instance, the URL structure for a Mautic landing page would be yourdomain.com/mautic/pagename. Instead, consider a more neutral folder name like “go”, “info” or “marketing.”

Installing Mautic Manually
If your web host doesn’t have a one-click installer, or you prefer to set your own MySQL database and user credentials, you will want to install Mautic manually. Also, if you want to set up a custom email handler during installation, you’ll should use Mautic’s install wizard install of Softaculous or Fantastico.
Before you begin, you still need to follow the steps outlined in the previous section to ensure you’re running PHP 5.6 or greater.
Get Mautic and Upload The Files Via FTP
Download the latest version of Mautic from Mautic.org. They’ve gated the download behind a form, but go ahead and enter your name and email address. Don’t worry, they won’t spam you — you’ll just get a friendly welcome email to the community. With your favorite FTP client, transfer the unzipped contents of the .zip file to the remote directory where you want install Mautic.
You have the option of installing Mautic on a subdomain (mautic.yourdomain.com) or subdirectory (yourdomain.com/mautic). Most users should choose the subdirectory because Google treats a subdirectory as part of the same website for SEO purposes. On the other hand, subdomains are treated as an entirely different website.
If you plan to use Mautic for landing pages, it’s best to go with the subdirectory so the SEO value of those pages accrue to your overall site. You will want to use a folder name that makes sense within the URLs of your landing pages, such as “go”, “info” or “marketing.” Yourdomain.com/go/pagename looks more professional to your customers than yourdomain.com/mautic/pagename.

Now once all the files have uploaded, create a subfolder named “logs” under the “app” directory and make certain /app/logs is writable by checking that the permissions are set to 755 (right click, File Permissions… in FileZilla). Not sure why the Mautic team didn’t include that folder with the .zip archive, but it can cause an error when launching the installer later.

Create a MySQL Database and User
In cPanel, create a MySQL user, database and grant ALL privileges to that MySQL user. Navigate to the Databases section and choose the MySQL Database Wizard. Keep the username, password and database name handy, because you’ll need it in the next step.
We assume you know how to do this but in case you don’t, here’s an easy tutorial.
Complete the Mautic Installation Wizard
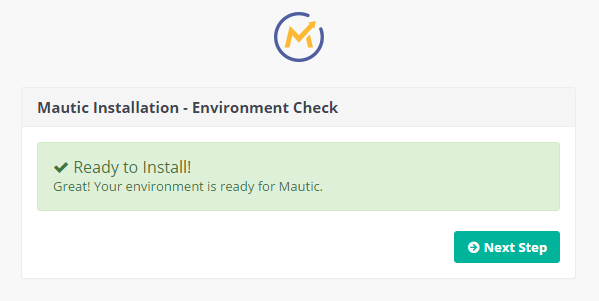
So good so far? Using your browser, navigate to the public URL of the folder where you uploaded the Mautic files to. If your server configuration is correct, you’ll see a friendly green message with a checkmark on your screen saying Mautic is ready to install. Click “Next Step” to continue.
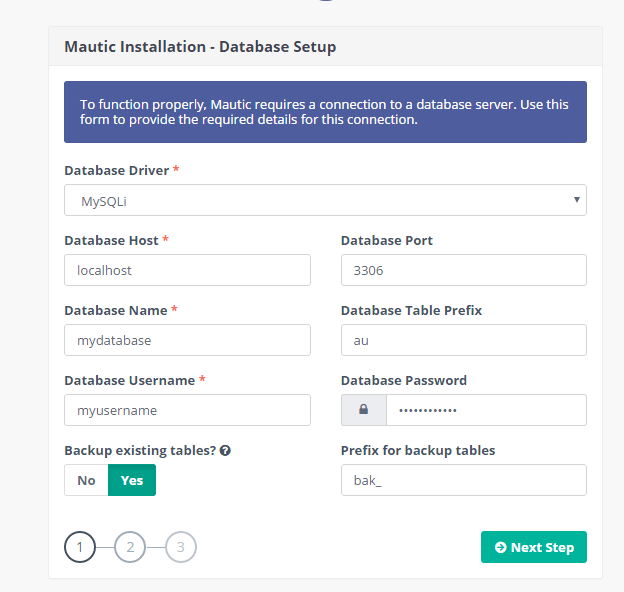
Step 1: Database Setup
Now enter the info for the MySQL database you created in the previous step in the Database Name, Database Username and Database Password fields. You can usually leave the other field as default; For most hosting accounts, database host should be localhost. Click “Next Step” to continue.
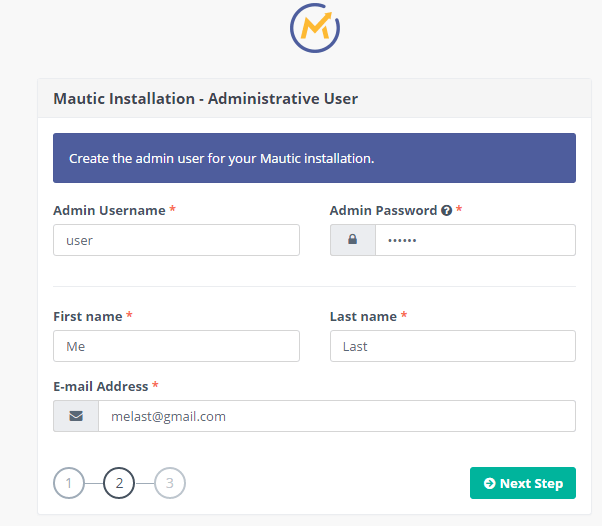
Step 2: Administrative User
Next, you’ll be asked to create the admin login which you will use to sign into your Mautic dashboard. You can always change this later, but we suggest you choose a strong password containing upper and lower case alphanumeric characters and special characters.
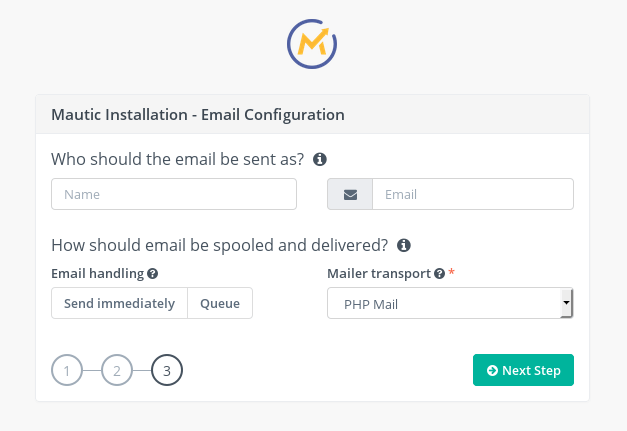
Step 3: Email Configuration
Finally, you’ve reached the last stage of the 3 step install. Here, you are asked to configure the outbound email settings for Mautic, which will be used both to send system notifications and marketing email.
Unless you have a specific reason (such as minimizing server load) why you need to set Email Handling to “Queue”, we recommend “Send Immediately.” For the Mailer transport, you can leave it as the default, “PHP Mail”, for testing or low volumes of email. With this option, Mautic’s emails will be directly sent using your server’s phpmail() function, subject to your web host’s limitations on hourly and/or daily outbound emails. For production instances, you should change the mailer transport to your corporate SMTP server or a third-party SMTP service such as Sparkpost or SendGrid. Third-party SMTP support is a feature that’s pretty unique to Mautic, so we recommend you use it for the reasons outlined in the article.
Installation Complete
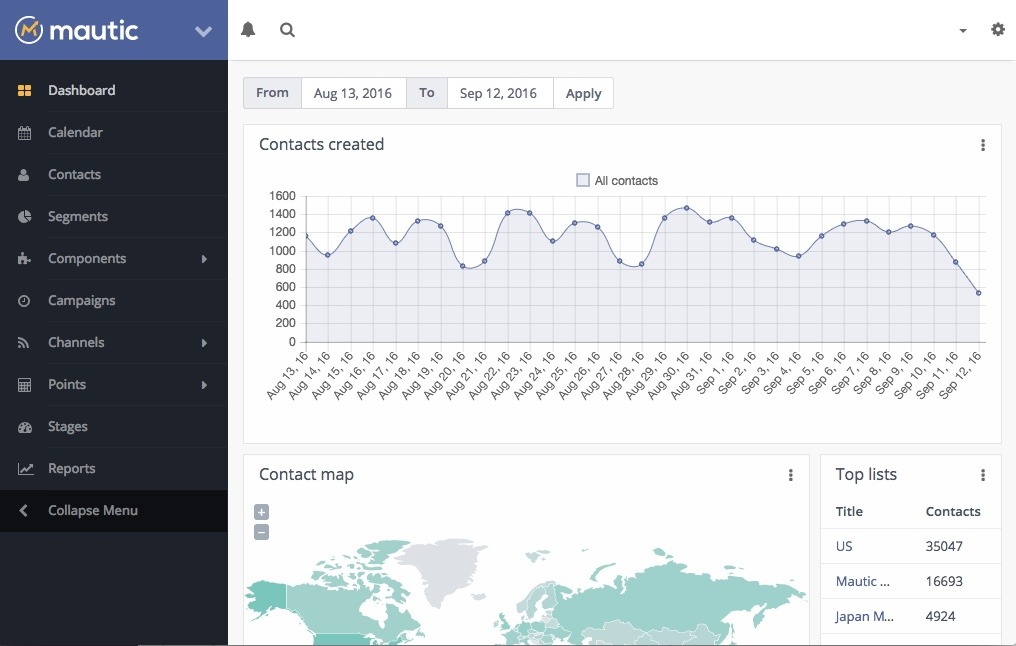
Sign into the Mautic dashboard using the admin username and password you set in Step 2 of the Mautic install wizard. The login URL is the at the root of the directory where you installed Mautic, which may be yourdomain.com/marketing or whatever you named it.
There are still a couple steps to set up to finalize your Mautic installation. Otherwise, certain functions such as segments and campaigns may not update, and your website traffic won’t be tracked. We have covered those requirements in our post-installation setup guide.