How to Install Pydio Cells
![]() Pydio Cells Home Edition is a freely available enterprise file sharing & sync server distributed under the open-source AGPL license. Pydio Cells is the successor to Pydio 8, completely rewritten in the Go programming language with a microservices architecture. In Pydio 8 and earlier, by default every user is set up with two main Workspaces: “My Files” and “Common Files.” Any files & folder that the user wishes to keep to him/herself are uploaded to “My files”, and any data to be shared across the organization belong in the “Common Files” Workspace. The limitation is how additional Workspaces can only be setup by the administrator, as each Workspace must be mapped to a path on the filesystem (or an external storage service such as Dropbox, FTP, WebDAV, or S3).
Pydio Cells Home Edition is a freely available enterprise file sharing & sync server distributed under the open-source AGPL license. Pydio Cells is the successor to Pydio 8, completely rewritten in the Go programming language with a microservices architecture. In Pydio 8 and earlier, by default every user is set up with two main Workspaces: “My Files” and “Common Files.” Any files & folder that the user wishes to keep to him/herself are uploaded to “My files”, and any data to be shared across the organization belong in the “Common Files” Workspace. The limitation is how additional Workspaces can only be setup by the administrator, as each Workspace must be mapped to a path on the filesystem (or an external storage service such as Dropbox, FTP, WebDAV, or S3).
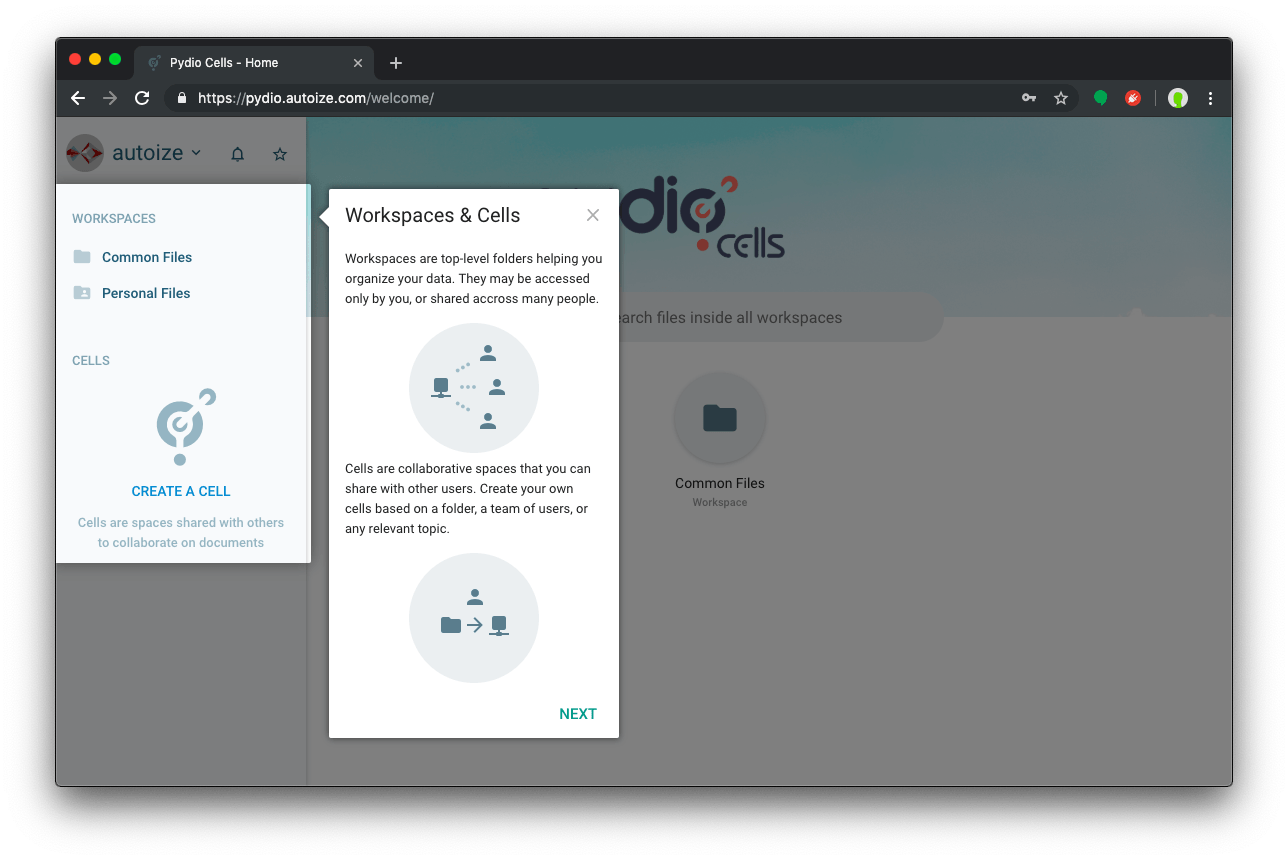
Pydio Cells introduces a new taxonomy known as Cells to replace Workspaces. In Pydio Cells, non-administrator users may create Cells, which are self-enclosed spaces to share files and collaborate privately with other users registered on the system.
In essence, the storage backing of a Pydio Cells server is completely abstracted as one contiguous space to store Cells’ data, without requiring intervention from the administrator every time a team or department inside the organization needs a new Cell. Rest assured however, the organization’s security policies (set by the administrator) are applied to the Cells created by the users.
Technical Requirements for Pydio Cells Server
This tutorial is for a CentOS 7 environment. The minimum requirements for a Pydio Cells server are 4GB RAM and 2 CPUs, with 8GB being the recommended spec for a production deployment. Pydio recommends the m4.large AWS instance with 8GB RAM and 2 Virtual Cores, which costs $0.10/hour (approximately $75/month).
DigitalOcean is also a great cloud hosting provider for your Pydio Cells instance. They have a $20/mo plan with 4GB RAM and 2 CPUs, and a $40/mo plan with 8GB RAM and 4 CPUs, making them significantly less expensive than AWS. New customers: Use our referral link to receive $100 in free Pydio hosting for 60 days (We get $25 as a thank you from DigitalOcean).
This tutorial is intended to illustrate how to get a minimal Pydio Cells instance up and running. If you require a fully optimized Pydio Cells instance for production use in your organization, contact our Pydio consultants for help with planning a scalable & secure implementation that can grow in capacity with your needs.
Tutorial
This Pydio Cells tutorial assumes you will be installing Pydio at a subdomain (pydio.example.com) of a second-level-domain that is already registered with an accredited registrar. It also assumes you are starting with a fresh CentOS 7 instance, with its own public IP address, that will be used exclusively for the purpose of hosting Pydio Cells.
Unlike previous versions of Pydio, Cells does not rely on an external web server such as Apache or Nginx to serve up the application, which was formerly written in PHP. Instead, Pydio Cells is packaged with a built-in web server known as Caddy, which also includes the Let’s Encrypt ACME client to automatically obtain and renew free SSL certificates for your Pydio server.
sudo yum update -y
sudo yum install nano screen wget yum-utils -y
wget https://dev.mysql.com/get/mysql80-community-release-el7-2.noarch.rpm
sudo rpm -ivh mysql80-community-release-el7-2.noarch.rpm
sudo yum-config-manager --disable mysql80-community
sudo yum-config-manager --enable mysql57-community
sudo yum install mysql-community-server -y
sudo systemctl enable mysqld
sudo systemctl start mysqld
Find the initial mysql root password in the mysqld log.
sudo cat /var/log/mysqld.log | grep password
sudo mysql_secure_installation
mysql -uroot -p
mysql> CREATE USER ‘pydio’@’localhost’ IDENTIFIED BY ‘changeth!s’;
mysql> CREATE DATABASE cells;
mysql> GRANT ALL PRIVILEGES ON cells.* to ‘pydio’@’localhost’;
mysql> FLUSH PRIVILEGES;
mysql> exit;
sudo setenforce 0
Edit from SELINUX=enforcing to SELINUX=disabled
sudo nano /etc/sysconfig/selinux
sudo useradd -m pydio
sudo usermod -aG wheel pydio
sudo passwd pydio
Change to pydio user.
su - pydio
wget https://download.pydio.com/pub/cells/release/1.4.1/linux-amd64/cells
chmod u+x cells
sudo setcap 'cap_net_bind_service=+ep' cells
./cells install
Welcome to Pydio Cells Home Edition installation
Pydio Cells Home Edition will be configured to run on this machine. Make sure to prepare the following data
– IPs and ports for binding the webserver to outside world
– MySQL 5.6+ (or MariaDB equivalent) server access
Pick your installation mode when you are ready.
✔ Command line (performed in this terminal)
Use the arrow keys to navigate: ↓ ↑ → ←
✔ Other: pydio.example.com:443
✔ Use Let’s Encrypt to automagically generate certificate during installation process
✔ Please enter the mail address for certificate generation: webmaster@domain.com
✔ Do you agree to the Let’s Encrypt SA? [Y/n] : Y
Use the arrow keys to navigate: ↓ ↑ → ←
✔ Yes
✔ External Url, used to access application from outside world (it can differ from internal url if you are behind a proxy or inside a private network): https://pydio.example.com
## Database Connection
✔ Socket
✔ Socket File: /var/lib/mysql/mysql.sock
✔ Database Name: cells
✔ Database User: pydio
✔ Database Password (leave empty if not needed): *************************
✔ Successfully connected to the database
## Frontend Configuration
✔ Admin Login (leave passwords empty if an admin is already created): autoize
✔ Admin Password: *************************
✔ Confirm Password: *************************
## Advanced Settings
✔ There are some advanced settings for ports and initial data storage. Do you want to edit them: Y
✔ Path to the default datasource: /home/pydio/.config/pydio/cells/data
✔ OpenIdConnect ClientID (for frontend): cells-front
✔ OpenIdConnect ClientID (for frontend): xxxxxxxxxxxxxxxxxxxxxxxx
## Performing Installation
2019-03-28T13:18:07.913Z INFO Starting installation now {“bindUrl”: “https://pydio.example.com:443”}
✔ Created main database
✔ Created default datasources
✔ Configuration of gateway services
✔ Creation of logs directory
✔ Installation Finished: please restart with ‘./cells start’ command
screen
./cells start
Ctrl-A then Ctrl-D to detach from screen, then close the Bash session to keep Pydio Cells running in the background.
Browse to pydio.example.com in a web browser to sign in to your brand new Pydio Cells instance.