
Apache, MariaDB, PHP on CentOS 7
Ultimate Mautic Installation Guide
 The Ultimate Mautic Installation Guide to setup Mautic step-by-step on CentOS 7 – the most popular Linux server operating system – is here. Want to try the first open marketing platform on your own server? Then look no further. This tutorial will show you how to set up a LAMP stack using the Linux shell, install Mautic and configure cron jobs.
Prerequisites
- Cloud Hosting Account. We suggest Linode, the best Mautic VPS hosting service for 2017. New Linode customers, use coupon code “BOOTSTRAPPED2017” for $20 free credit.
- CentOS 7 instance with at least 1 GB RAM
- SSH client installed locally such as PuTTY
Launch An Instance
Assuming you are using Linode, login and select “Add a Linode.” The process is similar if you choose a competing provider such as DigitalOcean or Amazon AWS.
Begin by choosing the size of Linode VPS you want: Linode 1024 or Linode 2048 provide 1 or 2 GB of RAM, at $5 or $10/month respectively. Then scroll down, select your preferred data center location (e.g. Fremont, CA) and click “Add this Linode!” to confirm.

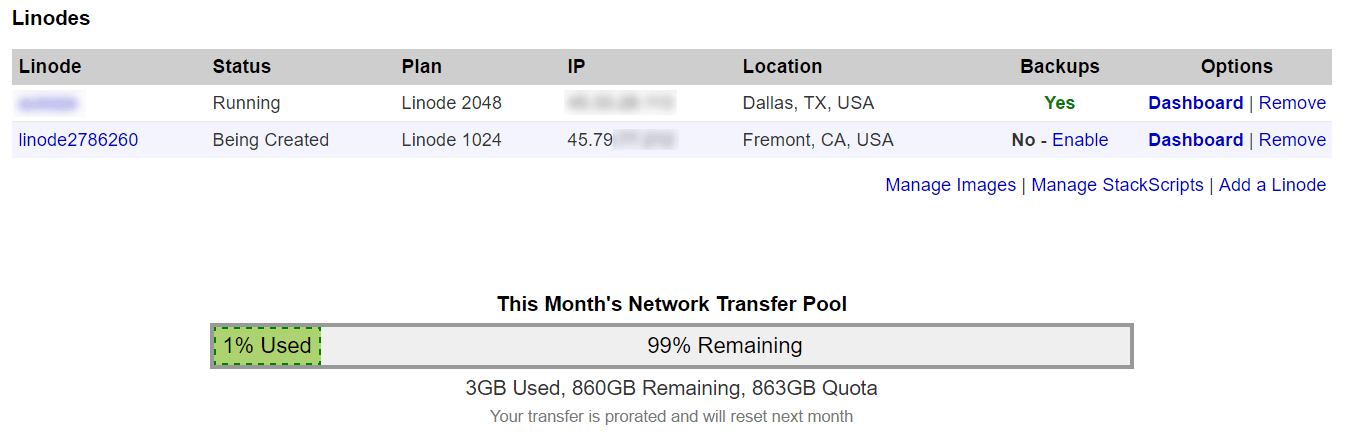
In your list of virtual servers, you will notice that a new instance been created. Note down the IP address of your new instance. The simplest way to point the desired (sub)domain name for your Mautic instance to this address is by adding an A record. Alternatively you may change your domain’s nameservers to Linode (ns1 – ns5.linode.com) to manage your zone file through Linode’s DNS Manager.
Click the name of your brand new Linode “linode#######” to view the management console for that instance.
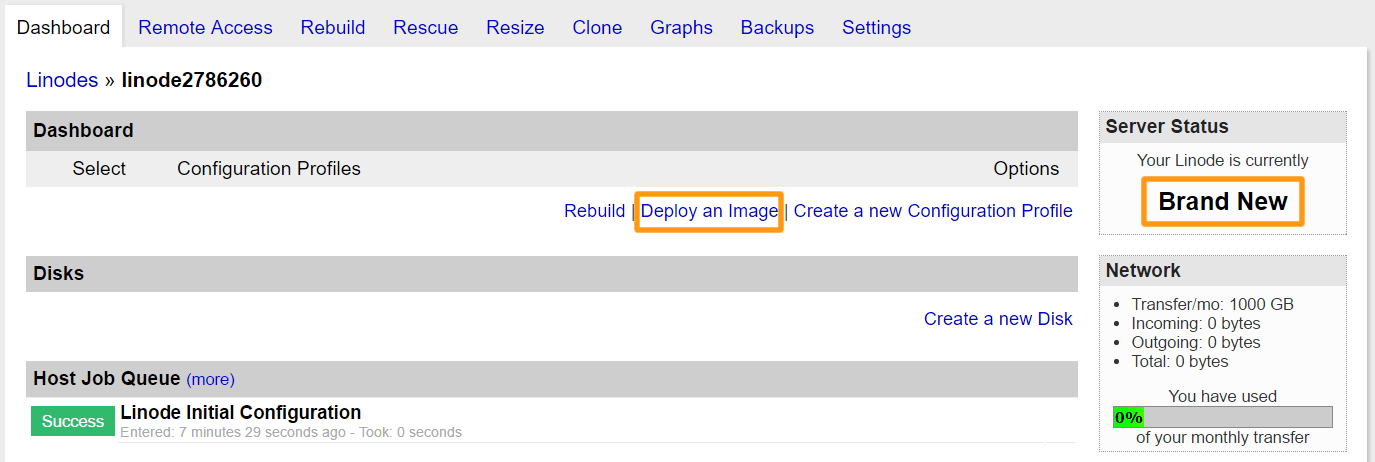
You may need to wait a few minutes while Linode completes its initial configuration. Once your Linode’s server status shows “Brand New”, you can click on “Deploy an Image” to install an operating system on the instance.
The next page is where you choose the operating system for your VPS.
- Select CentOS 7 under the “Image” drop-down menu.
- Leave the “Deployment Disk Size” as default to partition the maximum space allowed by your Linode.
- It is better to change the “Swap Disk” to 512 MB in case of high memory usage.
- Finally, set a secure root password to SSH into your server.
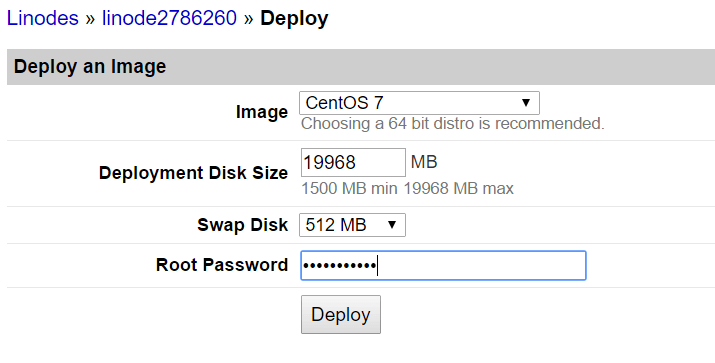
Click “Deploy” and allow several minutes for the operating system to be installed. Once done, two disks will have been created under your instance – a system partition and a swap partition. Click the “Boot” button to power on the instance so you can connect to it via SSH.

Install the LAMP Stack
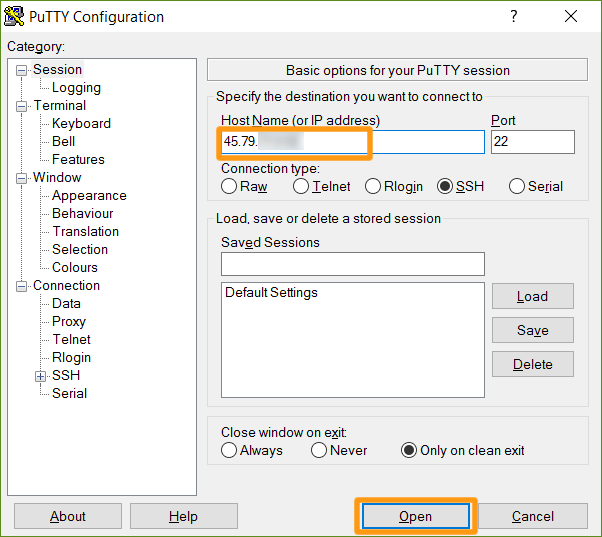
To continue setting up your server, you must connect to it via SSH (secure shell). PuTTY is a free SSH client you can use in Windows to access your VPS. After you’ve installed and opened PuTTY, you’ll be greeted with this screen. Enter the IP address of your Linode in the “Host name (or IP address)” text box, leave the port as “22” and click the “Open” button.
If you pointed a (sub)domain name at your server and have waited at least 24 – 48 hours for the DNS to propagate, you may use it instead of the IP address here. If your Internet connection is using Google Public DNS, you may clear the DNS cache to hasten the process.
Does a dialog box pop-up asking whether you want to trust the public key presented by the server? Click “Yes” to proceed. It is normal to see this message when you are connecting to a server for the first time on a certain PC, or the server behind an IP address or hostname has changed.
Login to the server using “root” as the username, followed by the password you specified while setting up the server. To protect your privacy, PuTTY doesn’t display your key strokes while you input the password. Once you see the command prompt “[root@li1176-212 ~] #” with a blinking cursor, you have successfully SSH’ed into your server.
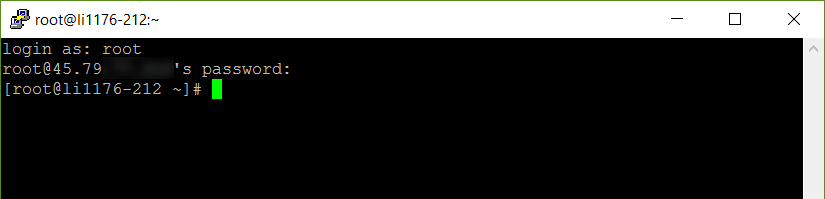
The remaining portion of this installation guide done in the shell will follow as text, to be executed inside PuTTY.
Unless otherwise stated, anywhere you see ###.###.###.###, you should substitute your server’s public IP address. Likewise, example.com should be your own (sub)domain name you pointed at the server.
Set the local hostname
The local hostname is used to identify your server on the network. Customize it using the following command, where “hostname” is the hostname of your choice.
hostnamectl set-hostname hostname
Edit the /etc/hosts file.
The /etc/hosts file states that any requests to “localhost” should be directed back to the server itself. The next line lists your server’s public-facing IP address, fully qualified (FQDN) host name and local hostname.
nano /etc/hosts
127.0.0.1 localhost.localdomain localhost
###.###.###.### example.com hostname
For all text edits using the nano text editor, type Ctrl-X to exit, Y and Enter to confirm.
Update the packages on your system
yum -y update
Add the following third-party repositories to your system
These third-party repositories, EPEL (Extra Packages for Enterprise Linux) and IUS (Inline with Upstream Stable) are required to install PHP 5.6 or 7.0 to your system, the versions of PHP supported by Mautic. The default repositories provide only PHP 5.4 so without these third-party repos, you would need to build PHP from the source and install it manually.
yum -y install epel-release
rpm -ivh https://centos7.iuscommunity.org/ius-release.rpm
yum -y update
Install and configure Apache web server
Apache has been the default web server on Linux for years, and also one of the supported web servers for Mautic alongside Nginx and IIS. Follow the next steps to install and configure Apache web server.
yum -y install httpd
systemctl enable httpd
systemctl start httpd
To let Apache know where is your “web root”, i.e. where is the directory on your server containing the files that should be served to visitors, you must create a configuration file at /etc/httpd/conf.d/example.com.conf. In this example configuration file, we also enable mod_rewrite via the AllowOverride All directive.
Since this file doesn’t exist yet, nano will create it the first time you write out the changes to the disk, or exit and save.
nano /etc/httpd/conf.d/example.com.conf
<VirtualHost *:80>
ServerAdmin example@example.com
ServerName example.com
ServerAlias www.example.com
DocumentRoot /var/www/html/
ErrorLog /var/www/html/error.log
CustomLog /var/www/html/access.log combined

<Directory /var/www/html/>
AllowOverride All
</Directory>
</VirtualHost>
It’s always a good practice to test the syntax of your configuration file before you restart the Apache service. Although breaking your configuration file on a blank server won’t do you much harm, you certainly won’t want to cause a production server to go down. If the following command returns “Syntax OK”, you are good to go.
apachectl -t
Restarting the Apache server is required after changing any configuration file for the changes to take effect.
systemctl restart httpd
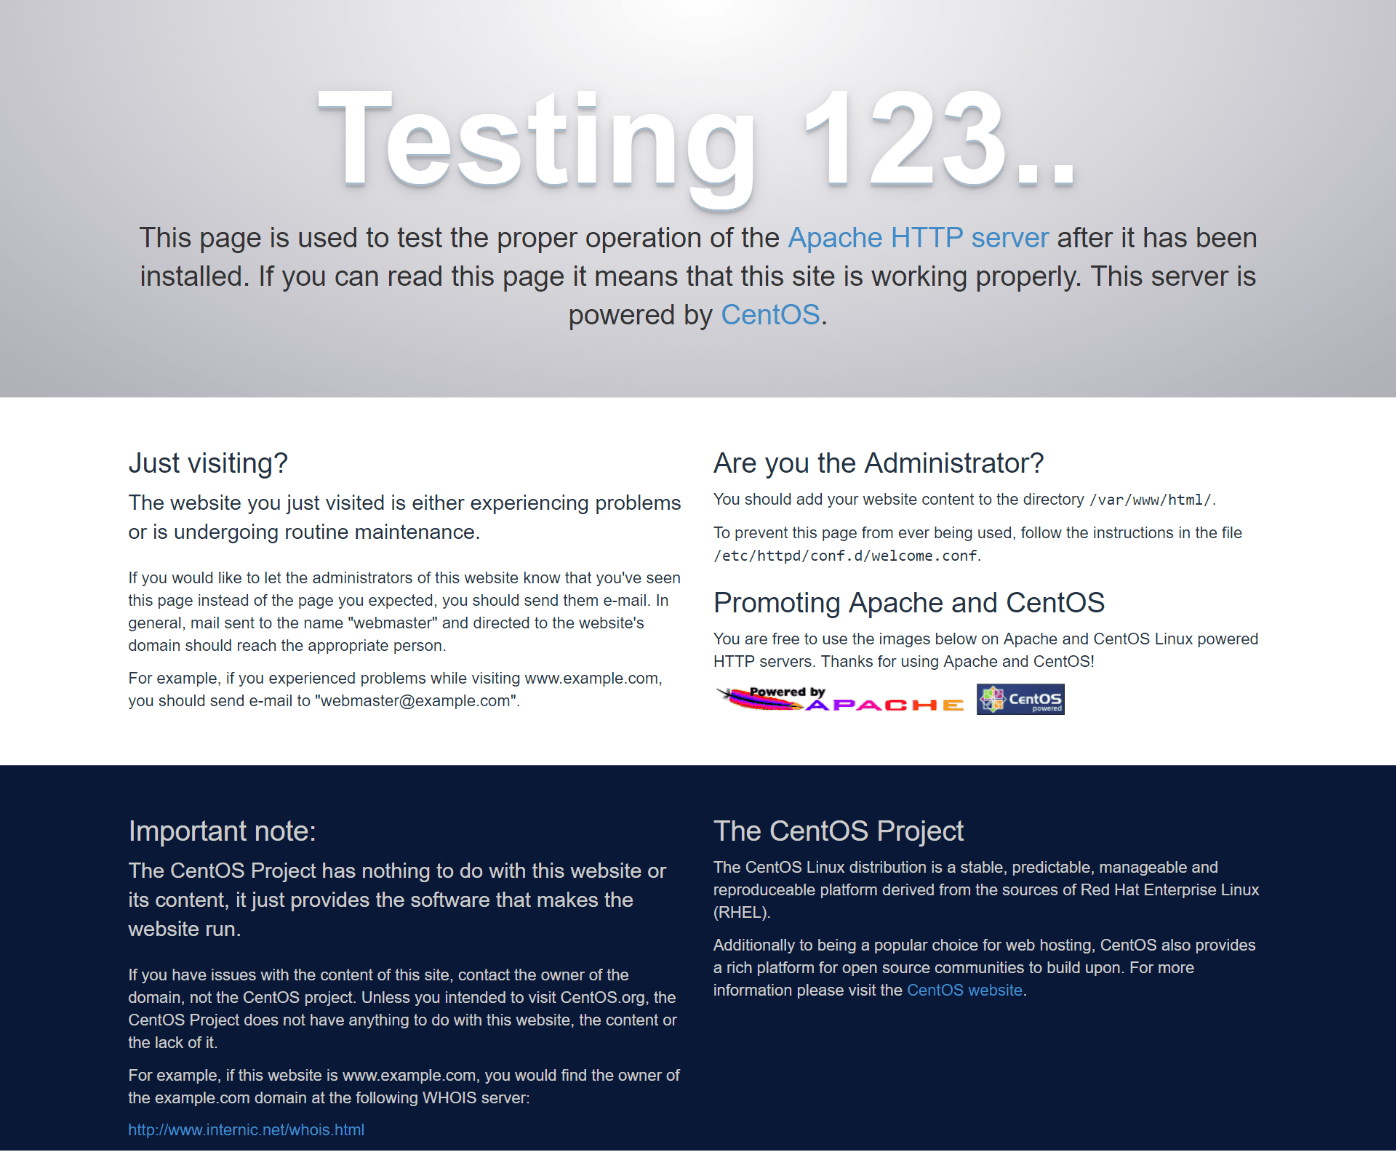
Visit your server’s IP address or (sub)domain and you should see Apache’s test page. As soon as you have uploaded any content to your web root, /var/www/html, this page should be replaced by the contents of your HTML file.
Install MariaDB, a MySQL compatible database server
For reasons related to Oracle’s acquisition of MySQL, many open-source projects including CentOS are distributing MariaDB as a drop-in replacement for the MySQL database server. Luckily MariaDB is fully compatible with MySQL, which means any MySQL applications such as Mautic are assured to operate with MariaDB. For many types of queries, MariaDB actually provides higher performance than MySQL.
Install and start the MariaDB service.
yum -y install mariadb-server
systemctl enable mariadb
systemctl start mariadb
To prepare the MariaDB server for its first use, run the mysql_secure_installation script. The script will walk you through a series of prompts. For your database server’s security, you should set a complex root password and answer yes to the remainder of the questions.
mysql_secure_installation
- Enter the current MariaDB root password (blank by default)
- Set a MariaDB root password – Y
- Remove anonymous users – Y
- Disallow root login remotely – Y
- Remove test database – Y
- Reload privilege tables – Y
Then, login to MariaDB using the root user. To access the MariaDB shell, use the following command.
mysql -u root -p
Enter the MariaDB root password you specified in the secure installation. Be aware that this is not necessarily your SSH password. If you arrive at a prompt reading “MariaDB [(none)]>”, everything has been successful up to this point. Now you will proceed to create a database and regular (non-root) database user for Mautic installation.
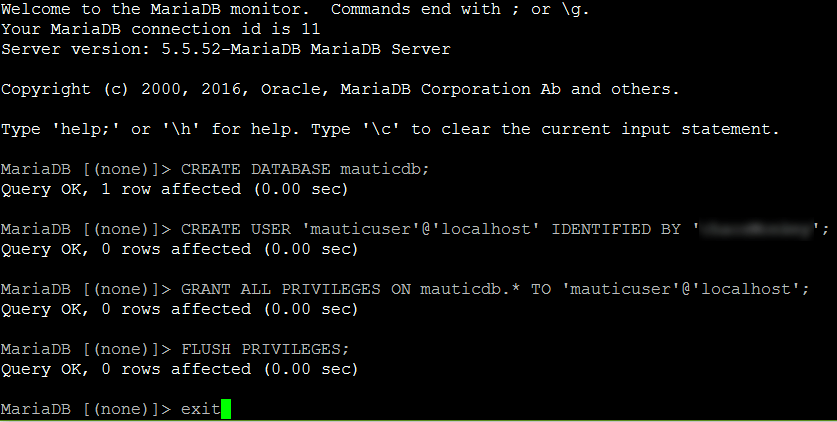
Run the following queries sequentially, taking care to set a secure password for ‘mauticuser’ and save it for your records.
MariaDB [(none)]> CREATE DATABASE mauticdb;
MariaDB [(none)]> CREATE USER 'mauticuser'@'localhost' IDENTIFIED BY 'yourPassword';
MariaDB [(none)]> GRANT ALL PRIVILEGES ON mauticdb.* TO 'mauticuser'@'localhost';
MariaDB [(none)]> FLUSH PRIVILEGES;
MariaDB [(none)]> exit
Install PHP 5.6 or 7.0 and Edit php.ini
Mautic uses the Symfony PHP Framework and requires PHP 5.6 or higher to run. Should you install PHP 5.6 or PHP 7.0? If you plan to run other PHP applications besides Mautic on the same server, then PHP 5.6 is a more compatible version. Mautic will work equally well with either version.
For PHP version 5.6, use the following command to install PHP 5.6 and the required modules for Mautic.
yum -y install php56u php56u-cli php56u-xml php56u-pdo php56u-mcrypt php56u-imap php56u-posix php56u-intl php56u-mysqli php56u-pear php56u-imap php56u-curl php56u-gd
For PHP version 7.0, use the following command to install PHP 7.0 and the required modules for Mautic.
yum -y install php70u php70u-cli php70u-xml php70u-pdo php70u-mcrypt php70u-imap php70u-posix php70u-intl php70u-mysqli php70u-pear php70u-imap php70u-curl php70u-gd
The PHP version of your choice will be installed once the yum transaction completes.
By default, PHP memory_limit is set to 128M. To prevent Mautic from running out of memory while sending mass email campaigns or doing CSV imports, you should increase this limit. Also, Mautic recommends setting your time zone with the date.timezone PHP variable. Most importantly, Mautic requires always_populate_raw_post_data to be set to -1. Otherwise, the installation will not proceed.
All of these settings are controlled by the php.ini config file.
nano /etc/php.ini
Search for the following code blocks using the “Where Is” feature in nano. Use the keystrokes Ctrl-W and enter the string to search.
PHP memory_limit
We suggest changing the memory_limit to 256M.
; Maximum amount of memory a script may consume (128MB)
; http://php.net/memory-limit
memory_limit = 256M
PHP date.timezone
To set the time zone, uncomment the line reading “;date.timezone =” by removing the leading semicolon. Then, find the appropriate time zone for your region from this list and list it inside single quotes.
[Date]
; Defines the default timezone used by the date functions
; http://php.net/date.timezone
date.timezone = 'America/New_York'
PHP always_populate_raw_post_data
The necessary PHP directive is already there. Simply uncomment the line by removing the semicolon preceding always_populate_raw_post_data = -1.
; Always populate the $HTTP_RAW_POST_DATA variable. PHP's default behavior is
; to disable this feature and it will be removed in a future version.
; If post reading is disabled through enable_post_data_reading,
; $HTTP_RAW_POST_DATA is *NOT* populated.
; http://php.net/always-populate-raw-post-data
always_populate_raw_post_data = -1
Restart Apache to ensure your php.ini changes take effect.
systemctl restart httpd
Install Mautic
With a working LAMP stack, you are now ready to install Mautic. From the shell, navigate to your webroot /var/www/html. To download the latest version of Mautic directly to your server (instead of uploading it via SCP or SFTP), you need the wget and unzip packages. Install those packages using yum.
yum -y install wget unzip
cd /var/www/html
wget https://s3.amazonaws.com/mautic/releases/2.6.1.zip
unzip 2.6.1.zip
chown -R apache:apache /var/www/html
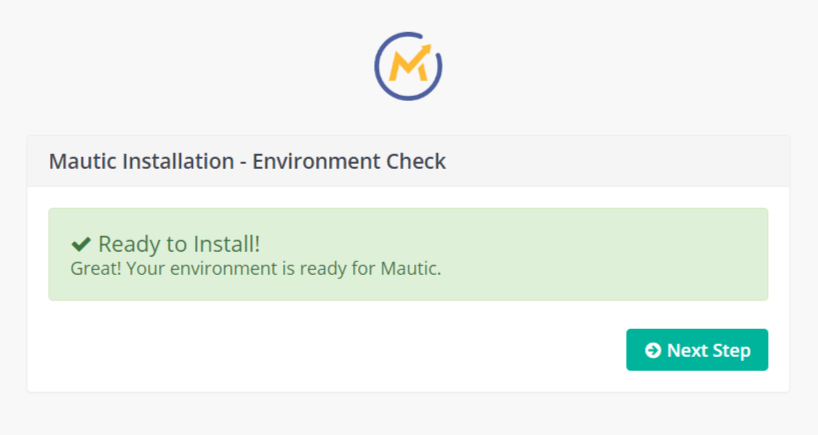
As soon as the Mautic archive has been expanded into your webroot, you are ready to begin the Mautic installation wizard. Type in your server IP address or (sub)domain in a browser to proceed. Assuming you did everything correctly up to this point, a message saying Mautic is “Ready to Install!” should appear. Give yourself a pat on the back, then click “Next Step.”
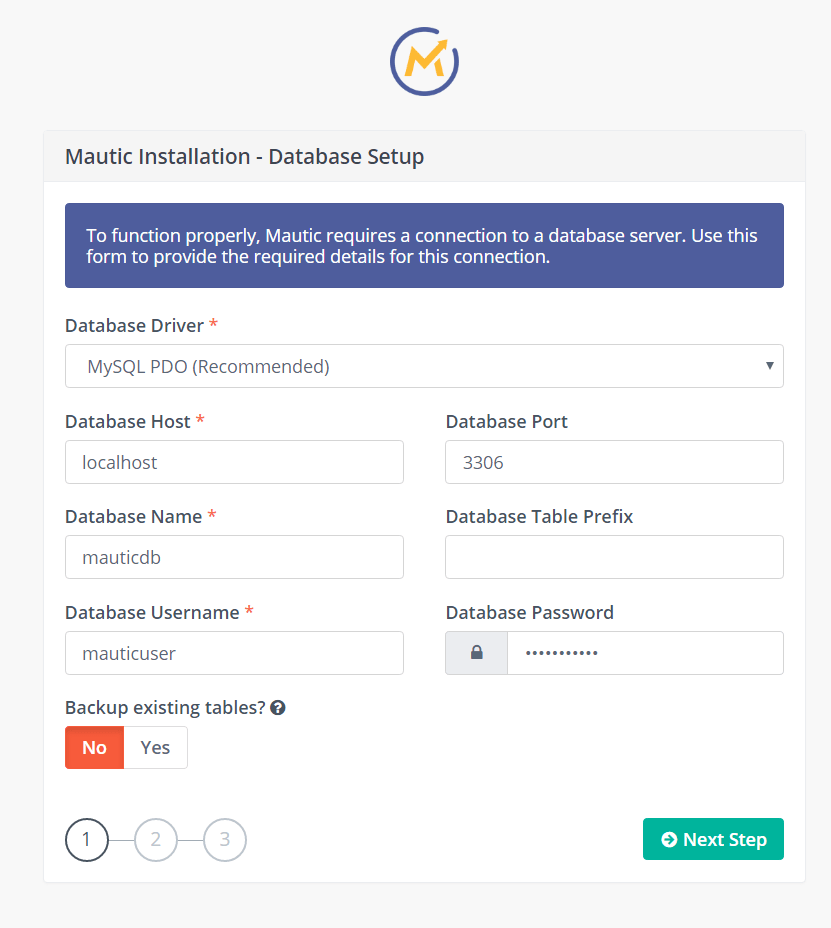
At this stage, Mautic will ask for your MariaDB database credentials. Fill out the fields as follows, then click “Next Step”
- Database Driver: Leave as default (MySQL PDO)
- Database Host: localhost
- Database Port: 3306
- Database Name: mauticdb
- Database Table Prefix: none
- Database Username: mauticuser
- Database Password: Your password for the ‘mauticuser’ database user
- Backup Existing Tables: No
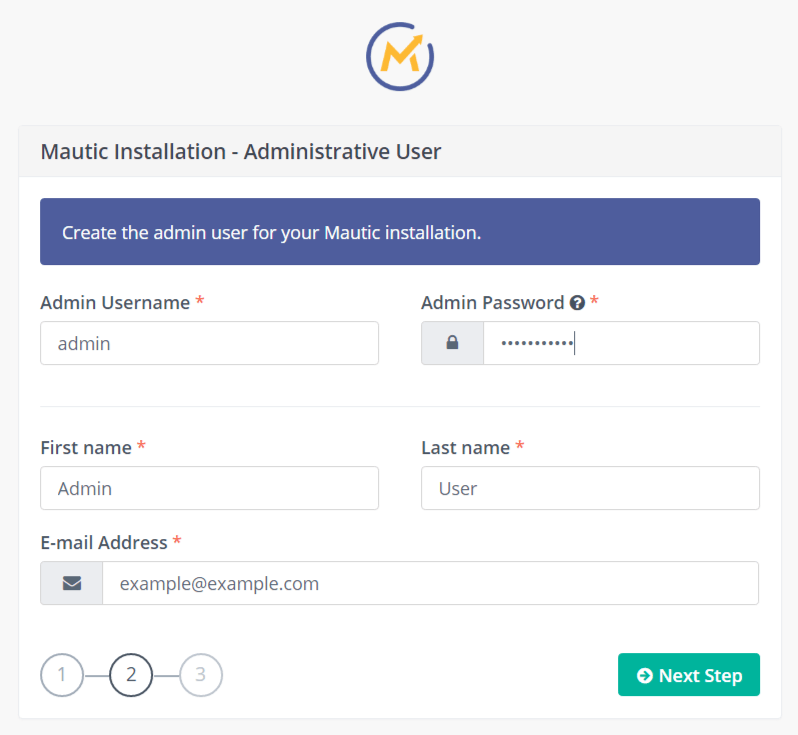
As long as the Mautic installer is able to connect to the MariaDB database you created previously and successfully populate the tables, the next two steps of the install are self explanatory. Step 3 is creating your Mautic Admin user account and Step 4 is configuring your email settings.
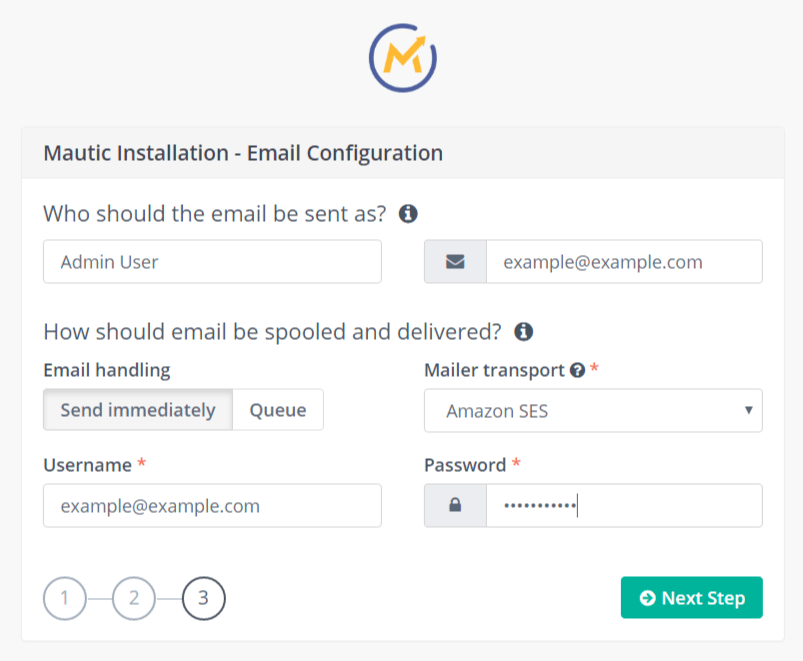
Here are our recommended settings for the Email Configuration.
- What name and email address you would like the email headers to show when sending messages from Mautic
- Email handling: Send immediately (Queue requires the mautic:email:send cron job)
- Mailer transport: PHP Mail will not function unless you set up a mail transport agent (MTA) on your server. For most users, using a third-party email service such as Amazon SES is the best option for deliverability.
- Username and Password: If applicable for your mailer transport
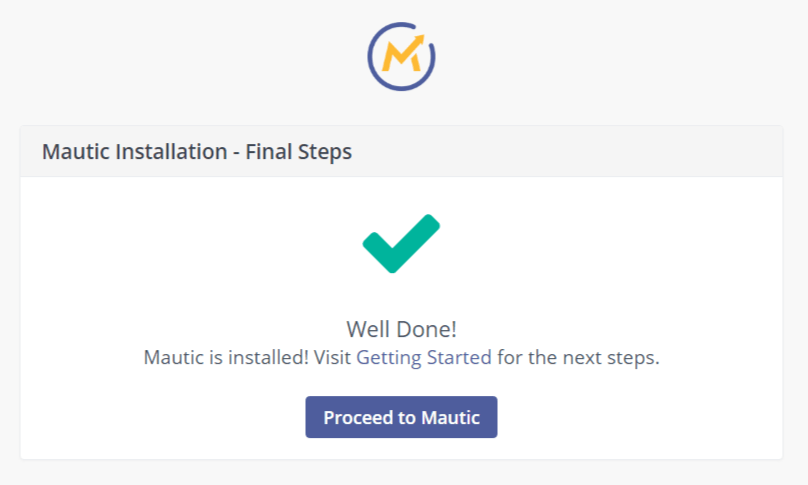
Congratulations. You have installed Mautic on a CentOS VPS with Apache, MariaDB and PHP. To ensure segments and campaigns update in your Mautic instance, there is one final step required: set up cron jobs. Cron jobs are scheduled tasks that run at specified intervals on a Linux system, much like Windows’ Scheduled Tasks.
Set up Mautic Cron Jobs
If you have disconnected from SSH, reconnect to your server using PuTTY. The /etc/crontab file is where scheduled tasks are added and removed. Mautic has published a full list of cron jobs it supports, but the sample file we provide below has the necessary cron jobs running every 15 minutes, for the features that most users utilize.
nano /etc/crontab
Add these lines to your crontab file.
*/15 * * * * root php /var/www/html/app/console mautic:segments:update
*/15 * * * * root php /var/www/html/app/console mautic:campaigns:rebuild
*/15 * * * * root php /var/www/html/app/console mautic:campaigns:trigger
*/15 * * * * root php /var/www/html/app/console mautic:email:fetch
*/15 * * * * root php /var/www/html/app/console mautic:social:monitoring