One of the most obvious benefits of using a containerized app is the ease of staying updated with the latest version. We all know updates are important; They provide new features, bug fixes and security patches. At the same time, an IT administrator’s biggest nightmare is keeping all the apps in his/her organization’s tech stack updated. Just look at StackShare and you’ll realize how many apps the average company uses nowadays. Sure, some of these tools are SaaS, but anything that’s hosted on local or cloud infrastructure is your responsibility to maintain.
Cloud native, containerized apps are designed with this challenge in mind. As much as possible, persistent user data is separated from the core, making it easy to use Docker volumes and bind mounts to persist user data between updates. If you’re using a cluster with your application, you could even use a storage driver such as the Amazon EFS driver to provision shared storage between your different nodes.
What is a bind mount vs. a named volume in Docker?
A bind mount allows you to map a certain file or directory on the host filesystem to a path on the container file system. Any bind mounts, specified using the –mount or -v flags when creating the Docker container bypass the layers of the Union File System (UFS) that comprise of a Docker image.
A named volume works similarly, but you don’t need to specify the location where the actual data should be persisted on the host. All you need to do is declare the volume in your Docker command or YAML file, and Docker will assign that volume a place in its /var/lib/docker/volumes directory.
For more information on the syntax to create a bind mount using docker run or creating a named volume using Docker Compose or Docker Stack, refer to Docker documentation.
Before bringing a container to life, it’s important to consider the options you choose when you launch your containerized app, in addition to the entrypoint script that runs when your container starts up. Carefully consider where on the host (or external storage) you’d like to persist the user data.
You should also be conscious of which Unix user owns the files on the host file system. Some images allow you to pass the user ID (UID) and group ID (GID) of that user as an environmental variable when starting up the container, to avoid any permissions errors. If you ever need to modify the files and directories that are bind mounted into the container from the host, be very cautious what user you add or edit those files as. sudo -u is a useful command to avoid inadvertently changing the ownership of a file when you are editing it from the host, such as config files that are applied to a containerized app.
Any scripts that run when your newly created container starts up for the first time are also important. To ensure your containerized app can be updated by simply pulling a new version of the image, you must ensure that any startup scripts check for the presence of persisted data (e.g. config files, database rows, user data) before running a setup wizard and/or overwriting them with default information.
General Steps to Updating a Running Docker App
Here are some general steps to follow when updating a running Docker app.
- Always backup your container and user data before attempting the update. The docker commit command and copying the data from the bind mounted directory on the host with cp -ax (preserve all permissions and attributes) are helpful for doing this.
- Using docker inspect container_name, take note of any special options your container is running with, such as Docker volumes, networks and environment variables. You will need to know the values of these options to recreate the container.
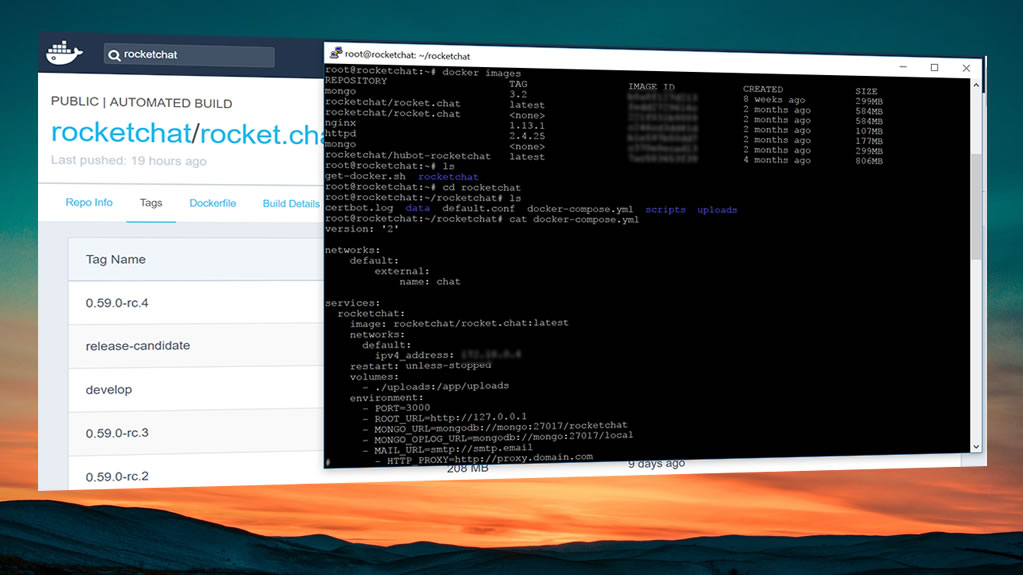
- Pull the version of the app you’d like to update to from the Docker repository. If you’re trying to update to the latest version, you might execute docker pull author/app:latest, otherwise specify the specific version tag following the colon. Remember, you can always view a complete list of the version tags and how recently they were pushed on the “Tags” tab of the Docker Hub repository.
- With the container and data safely backed up, stop and remove the running container with docker stop container_name followed by docker rm container_name.
- Recreate the container with the options you noted down earlier. If all went well, your app should be running on the version you updated to.