Marketing Automation Hosting Tutorial
Install Mautic on a Cloud VPS
 ServerPilot has ended its free plan and this article is now deprecated. It is in the process of being updated.
If you’re trying to install Mautic on a server you have root access to, this tutorial can help. For those who need the power and customization of a VPS or dedicated server, setting up Mautic is somewhat more complicated than using the control panel on a shared or cloud hosting plan. Assuming you’re seasoned at all in Linux server administration though, the tasks should be quite familiar to you.
In this tutorial we will use DigitalOcean, a popular provider of cloud VPS starting at just $5/month. Other cloud server hosts, such as Linode or the major IaaS platforms like AWS are also solid options. But besides the inexpensive prices, another benefit of using DigitalOcean is the presence of a tool known as ServerPilot. With a couple clicks, ServerPilot sets up an Nginx server, PHP and MySQL on a freshly installed Linux machine. Normally you need to be concerned about server updates and security, but ServerPoint automatically sets up a basic firewall and keeps your server patched.
Server Setup in DigitalOcean and ServerPilot
 Assuming you already have a DigitalOcean account, sign in and launch a Droplet with the latest 64-bit LTS version of Ubuntu. When we wrote this, this was the Ubuntu 16.04 x64 image. For a production instance, we would suggest starting with the $10/month plan packing 1 GB of RAM – but for testing purposes, the $5/month plan with 512 MB RAM is perfectly fine.
If you use this link to sign up, you can get $10 in DigitalOcean hosting credit for free.
The root password will be sent to your email inbox. Keep this handy and go sign up for a ServerPilot account.
If you use this link to sign up, you can get $10 in ServerPilot credit for free. ServerPilot is a free service, but the $10 will let you try their Coach plan, which enables guided setup of SSL certificates, unlimited SSH users and additional server analytics.
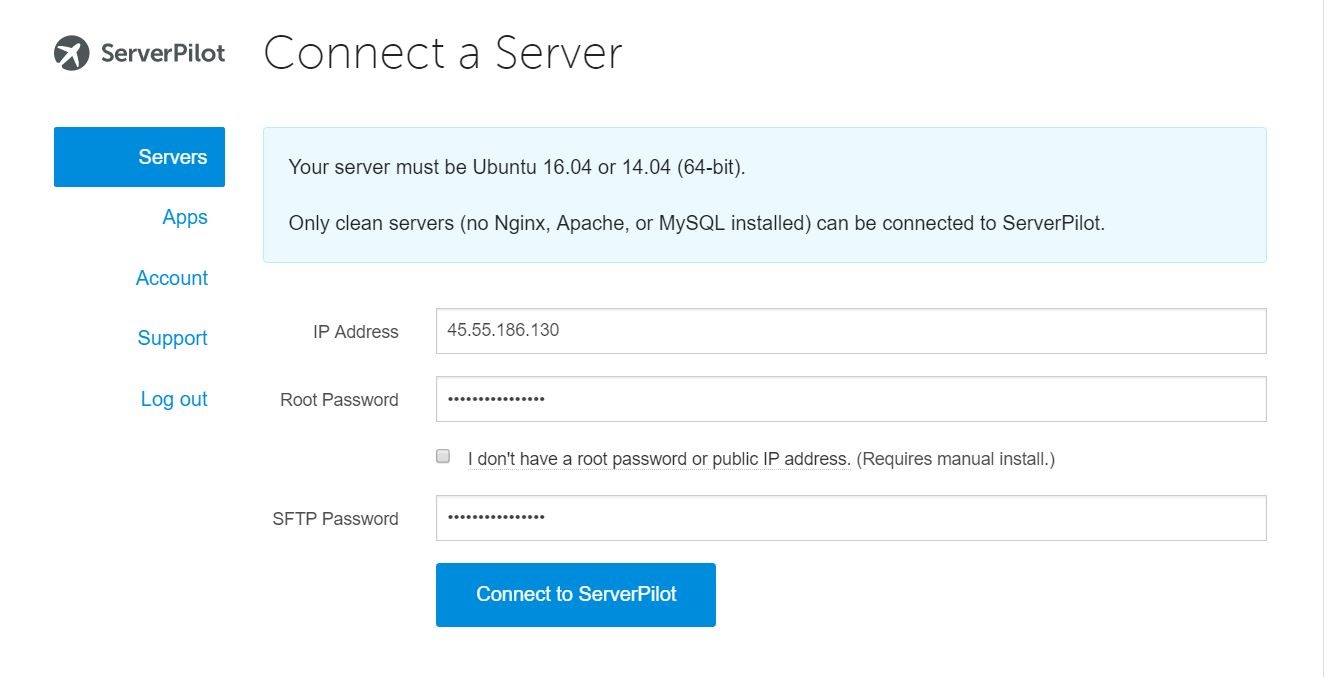
Once logged in to ServerPilot, navigate to the Servers tab to “Connect a Server.” You’ll need your DigitalOcean server’s IP address and root password. ServerPilot will automatically create a user on your server named “serverpilot”, which will be used to upload files via SFTP. You need to specify a password for that user – it’s advisable to make it different from your root password.
Once your server is connected to ServerPilot, you should:
- Point your domain/subdomain that you will use Mautic with to the server
- Set PHP version to 7.0
- Set up a MySQL database and user
Fortunately, ServerPilot makes these steps very easy whereas you would usually need to do them through the Linux shell. Since your top level domain (example.com) is probably your public facing website, most likely you will use a subdomain for Mautic such as www2.example.com, go.example.com or pages.example.com. Keep in mind this URL will be reflected in your emails and landing pages, so choose wisely.
Point Your Domain/Subdomain and Set PHP Version
With ServerPilot, you can host multiple domains with your server. Each virtual host is set up as an “app” in the control panel, based on their parlance. If you wanted to, you could also move your WordPress website for example to the same server, and set it up as another app. For the purposes of this tutorial, we will stick with hosting a single app for Mautic.
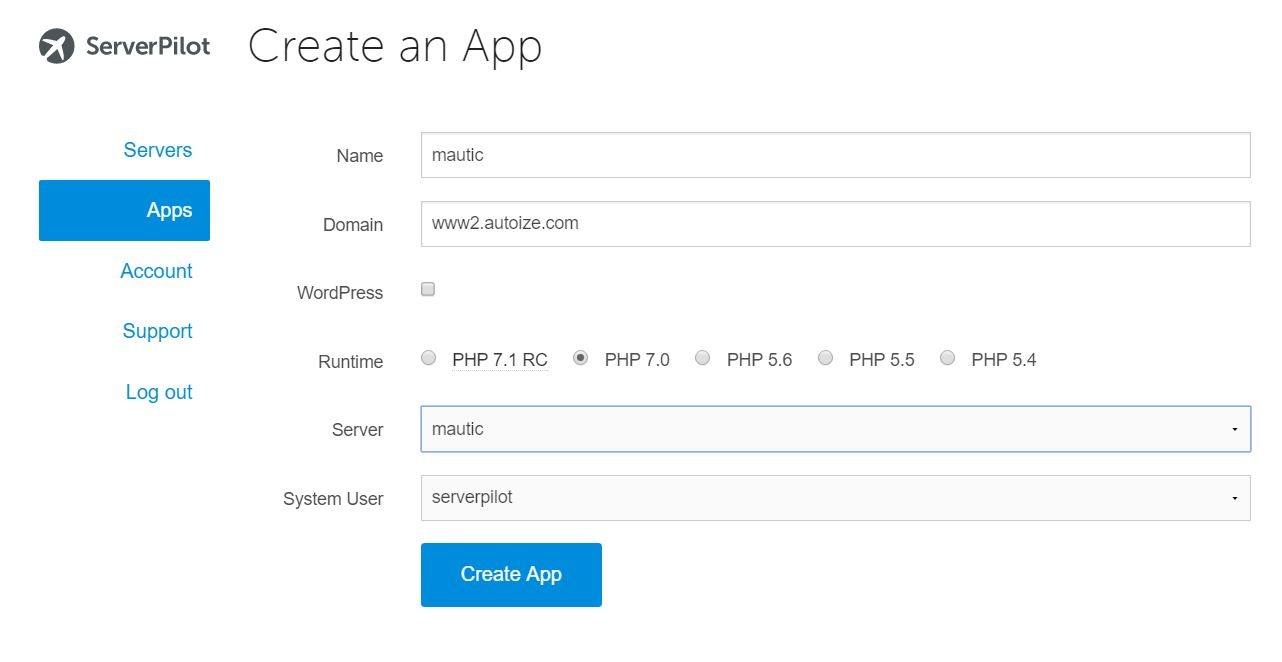
- Name – Enter an internal identifier in ServerPilot for the virtual host you are setting up.
- Domain – Enter the exact domain/subdomain name you are pointing to the server.
- WordPress – When checked, ServerPilot installs WordPress on the virtual host.
- Runtime – Specify the PHP version. PHP 5.6+ is supported by Mautic, but 7.0 is the most compatible for a ServerPilot server. Using 5.6 requires making a change to the php.ini file manually (not recommended).
- Server – Select the DigitalOcean name for the server you are pointing this virtual host at.
- System User – The Linux user that the Nginx server will run as. Leave as default “serverpilot” is fine.
Before you proceed, you should go to your domain registrar or DNS provider and update the A record for the domain/subdomain you chose to the IP address of your DigitalOcean server. To help the DNS records propagate faster, you can use a shorter TTL of “3600” then clear your browser and DNS cache.
If your top level domain is already pointed at the nameservers of your cPanel web host, you can modify DNS records for subdomains using the “Advanced Zone Editor” under the Domains section of the control panel. This will likely be the case if you are hosting your main website on a regular web hosting account.
Set Up MySQL Database and User
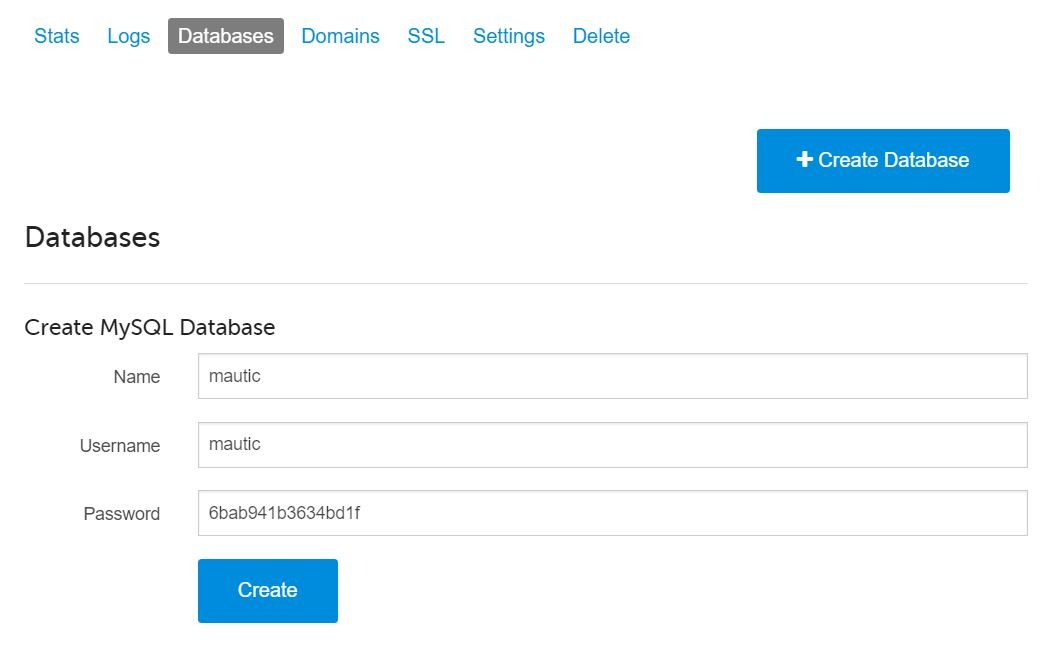
Once the app has been created, navigate to the “Database” tab. The Name field corresponds to the name of the database, the Username and Password are for the MySQL user that will have permissions to alter this database. You will use these credentials to setup Mautic in the install wizard later, so record them in a safe place.
Upload Mautic using WinSCP
To install Mautic, first you need to upload the installation files via SFTP to your server. WinSCP is a secure FTP client for Windows, which provides a user-friendly, graphical interface. Download a copy from the official website here. Once WinSCP is installed, use the following credentials to login. If you see a security warning, you should click “Update” to accept the certificate since you are connecting for the first time.
- File protocol: SFTP
- Host name: Your intended Mautic URL
- Port Number: 22
- Username: serverpilot
- Password: The SFTP password you specified in the ServerPoint setup
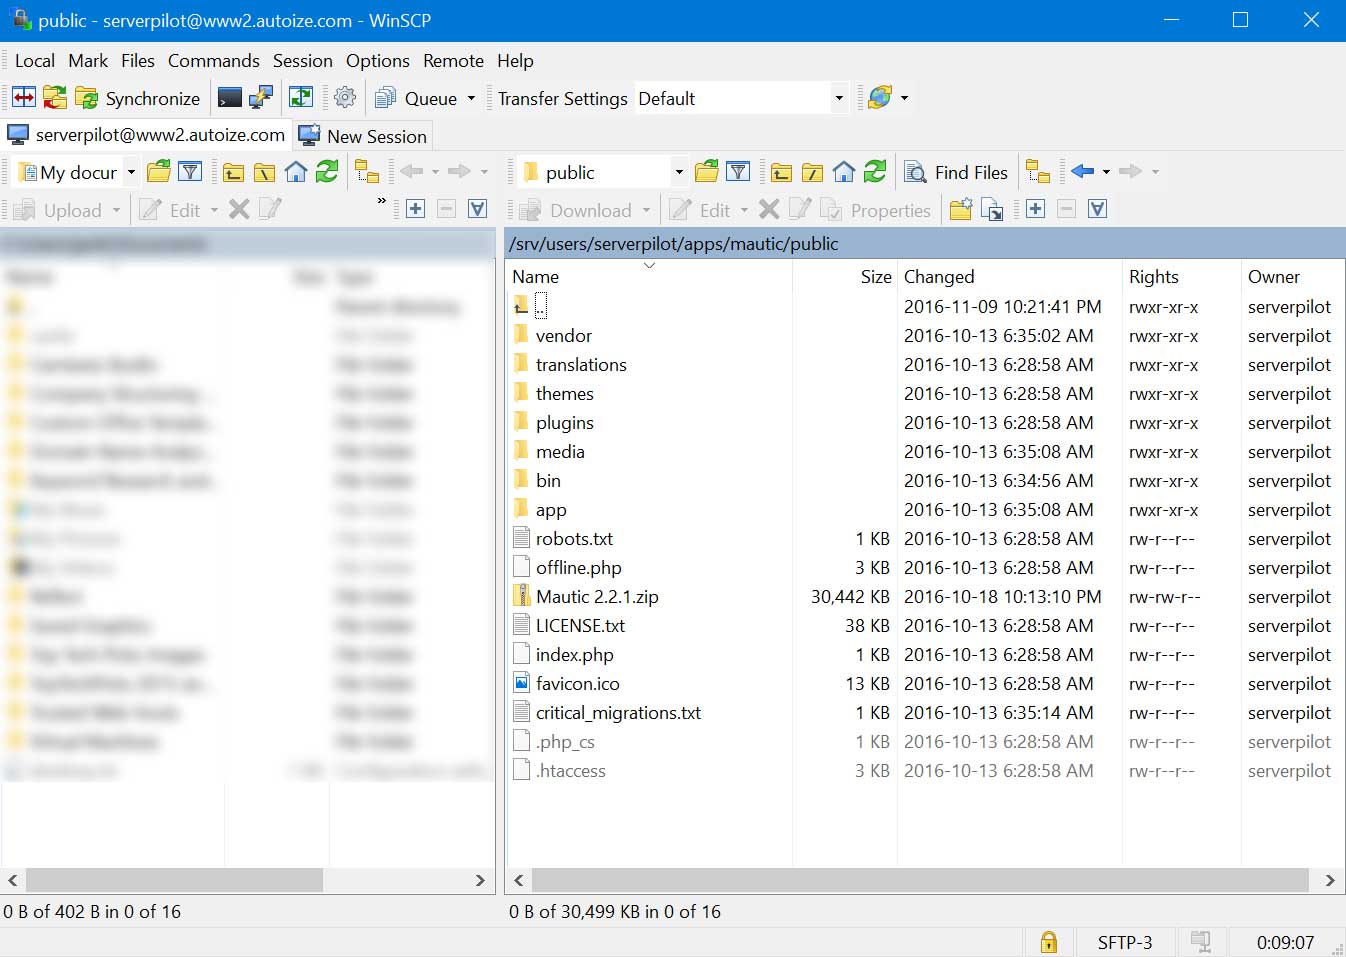
After you are connected, navigate to /srv/users/serverpilot/apps/mautic/public/ in the right pane of WinSCP. This is the publicly visible directory of your ServerPoint app. If you named your ServerPoint app something other than “mautic”, it will be under that name instead in your apps folder.
Download the latest copy of Mautic, unzip it and upload its contents to this directory. Simply drag and drop the relevant files into WinSCP. Bonus tip: If you are familiar with SSHing into your server with PuTTY, you can upload the .zip instead and use the unzip command to extract it on the server. This is much faster than uploading the folder structure directly via SFTP.
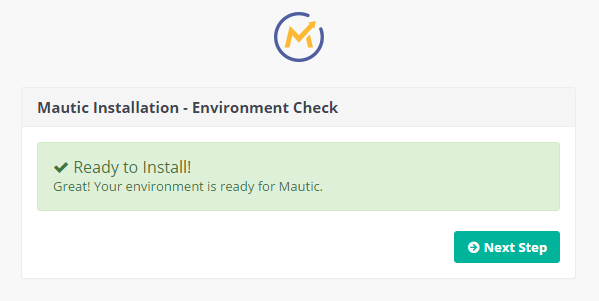
Ready to Install Mautic
In a web browser, navigate to the domain/subdomain where you plan to install Mautic and complete the setup wizard. If you see a message stating “Ready to Install!”, you’re ready to rock and roll. Follow the steps in our easy Mautic Installation Guide and you’ll be ready to automate your marketing with the power of open source in no time.